PuttyGen
How to convert pem files to ppk for putty and filezilla
Why you need to make a ppk (putty private key)
- For reasons that evade me, Putty uses an encryption key format that does not follow any other standard key format
- Filezilla also uses the ppk format
How to use PuttyGen to Convert a pem file to the ppk format
If you are going to use Putty for your SSH (Secure Shell) connection to AWS Academy, and/or use Filezilla, you will need to create the .ppk (Putty Private Key) version of the .pem (originally meant privacy enhanced email) keys that AWS will create for you.
PuttyGen is the tool for that.
Depending on the computer, you will want to download the 64bit-x86 version of puttygen.exe from PuttyGen Download Site
Steps
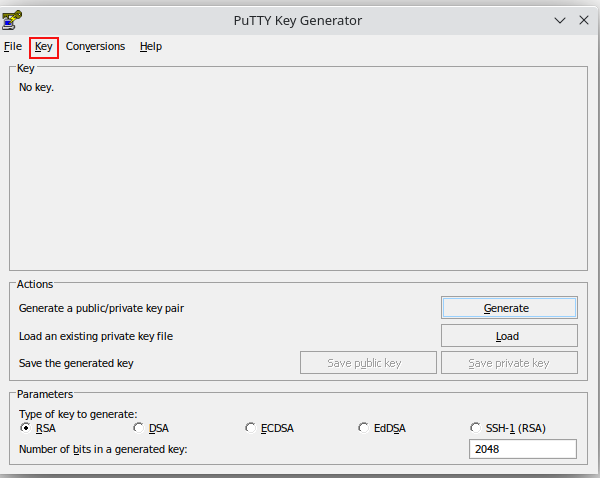
- First Open the puttygen program and click on the "Key" in the menu
- Next you will select "Parameters for Saving Key Files" in the sub menu that pops up
NOTE: Some versions of putty may not have this option, so you can probably skip this step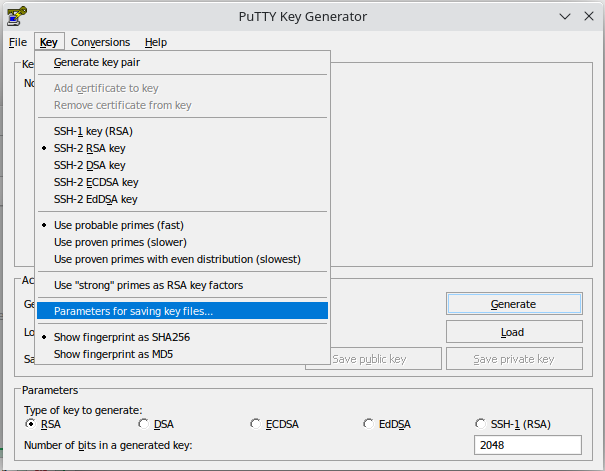
- You will then change the PPK file version to 2 (as the newer version 3 seems to cause issues) and choose "OK"

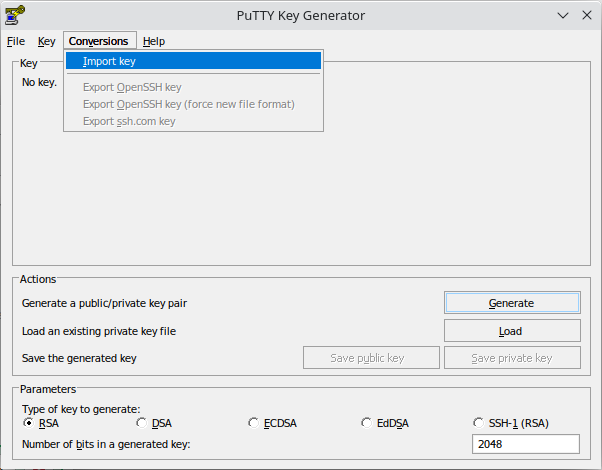
- Then choose "Conversions" from the puttygen menu and then "Import Key"
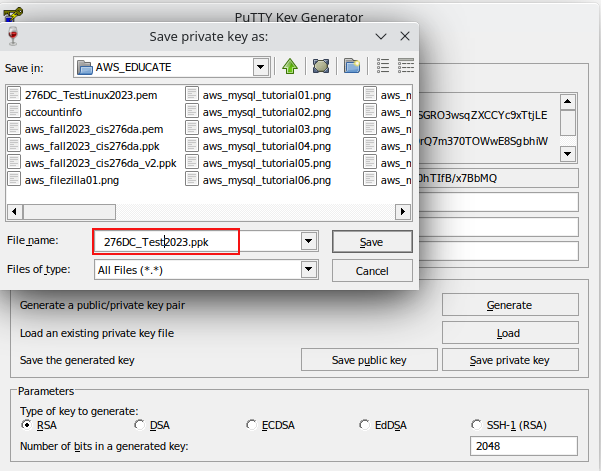
- Then browse and find the "filename.pem" you created when building your EC2 instance on AWS earlier. It will show up in the "Key" window. Then choose "Save Private Key"
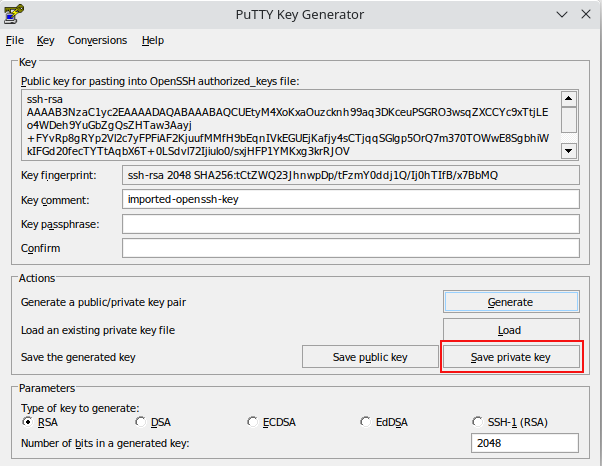
- Then it will ask you if you want to save the new ppk file WIHTOUT a password. Say Yes. (In practice, putting a password on an encryption key is a good idea, but we will skip it for this class.)

- Save the file, usually with the same name as the pem file, but change the ending to ".ppk" so you don't accidentally over write your .pem file!
- You should now have the Putty Private Key (ppk) version of your encryption key, which can be used with putty and filezilla.


